Change network adapter type with PowerCLI
Today I found this neat PowerCLI One-liner in my Twitter timeline:
A nice side effect of this one-liner is, that the mac-address doesn’t change, as you can see in the screenshots.
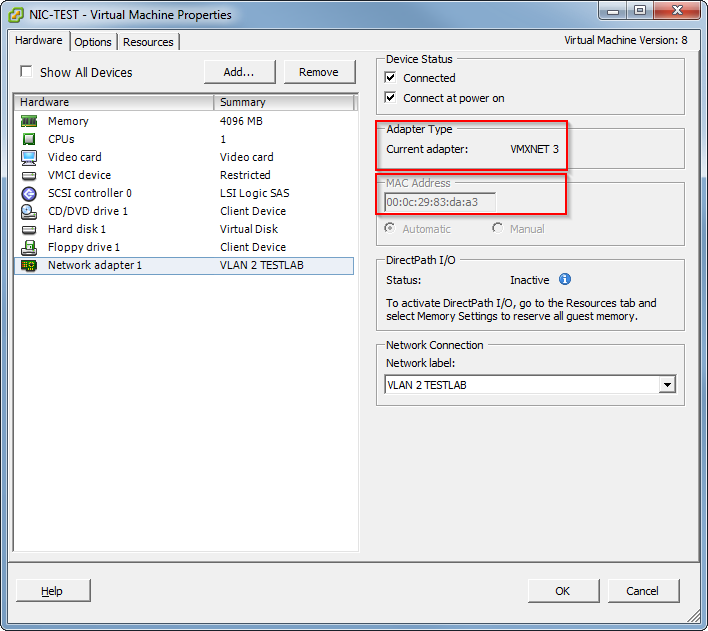
Patrick Terlisten/ vcloudnine.de/ Creative Commons CC0
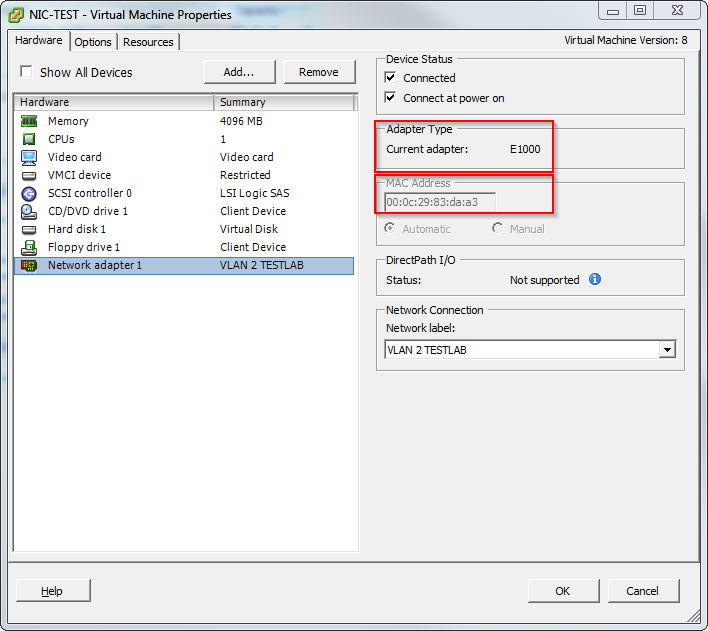
Patrick Terlisten/ vcloudnine.de/ Creative Commons CC0
If you have ever changed the adapter type of a vNIC you will know, that this leads to a changed mac-address and a new adapter in the OS. Windows will show a “Local Area Connection 2”, Linux will show a eth1 instead of eth0. So you need to lend a hand. If you use Linux and you’ve changed the adapter type using this one-liner, everythings fine. eth0 will stay eth0, but the kernel loads another driver. No need to modify or delete the 70-persistent-net.rule file under /etc/udev/rules.d. But how does Windows handle it? Unfortunately Windows doesn’t handle it. Windows detects a new device, because the hardware ID changed.
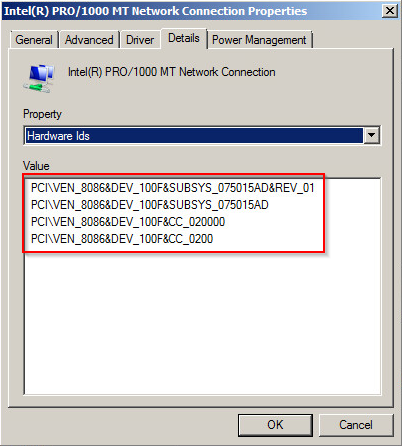
Patrick Terlisten/ vcloudnine.de/ Creative Commons CC0
And for the VMXNET3 adapter…
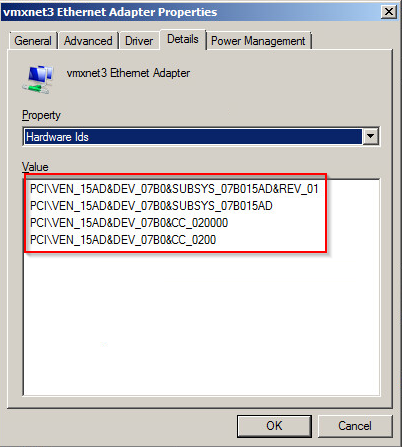
Patrick Terlisten/ vcloudnine.de/ Creative Commons CC0
The only way to fix this, is to delete the old, non-present adapter. In order to do that, open a CMD and enter the following command:
set devmgr_show_nonpresent_devices=1
Then open the Device Manager, choose “View” and click “Show hidden devices”. Then delete all non-present network adapters and the newly detected VMXNET3 adapter.
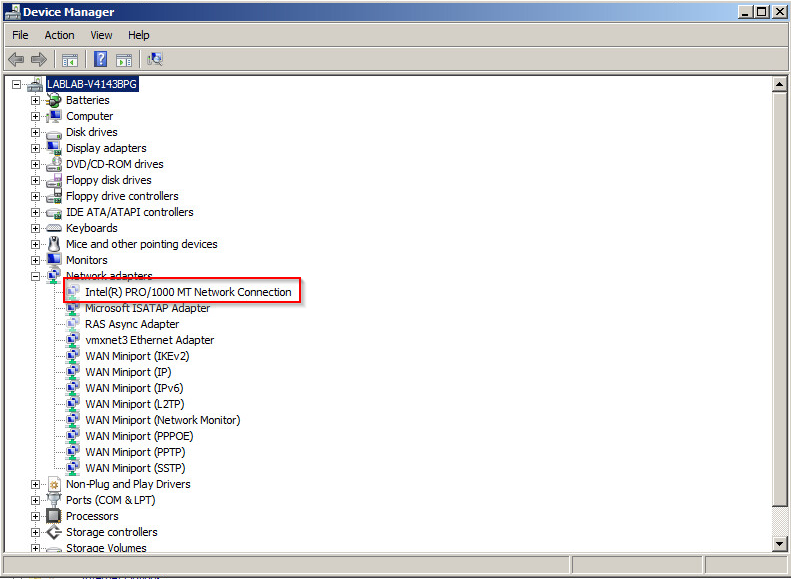
Patrick Terlisten/ vcloudnine.de/ Creative Commons CC0
After that, right click the computer icon (in my case LABLAB-V4143BPG) and select “Scan for hardware changes”. Windows will detect a new VMXNET3 adapter, which you can finally configure with the hopefully documented IP settings.
