Deploying Windows Server VMs with Microsoft Deployment Toolkit 2013 - Part I
What are the requirements of MDT 2013?
The requirements are manageable. To recreate my small lab environment, you need two VMs or physical servers and a evaluation copy of Windows 2008 R2. MDT 2013 and ADK for Windows 8.1 can be downloaded for free on microsoft.com. I used two Windows 2008 R2 VMs for my setup. One VM as a Domain Controller with DHCP and the second VM for MDT 2013 and WDS.
- Windows 2008 R2 Server (you can also use Windows 7, Windows 8, Windows 8.1, Windows Server 2012 or Windows Server 2012 R2)
- Microsoft Deployment Toolkit 2013
- Windows Assessment and Deployment Kit (ADK) for Windows 8.1
These are the basic requirements to do LTI deployments. As you can see, the “footprint” of is really small. If you want to use WDS (yes, you want…) you need additional components:
- Windows Active Directory
- Windows Deployment Services (WDS)
- DHCP
WDS is used to deploy the custom Windows PE images over PXE. Otherwise you have to boot the PE images via USB or CD/ DVD. But there is a disadvantage of this solution: You need an Active Directory. This is required by WDS. This blows our “footprint” a little. If you want a standalone server for MDT 2013, you can exchange WDS with another PXE solution. WDS is only used to boot Windows PE over network.
The lab setup
In the screenshot below you see my lab setup. Insanely complex, right? The first VM is my Domain Controller, which delivers AD, DNS and DHCP. On the second VM, aptly referred to as MDT, I installed WDS, MDT and ADK. All the VMs run on my HP ProLiant MicroServer (N36L, 16 GB RAM, Smart Array P212 with 4x WD Green 1 TB drives) with ESXi 5.5.

Patrick Terlisten/ vcloudnine.de/ Creative Commons CC0
The installation of Windows Deployment Services (WDS)
First of all we will install the WDS on the server that we want to use or MDT 2013. This is an easy job. The WDS is a role that can be installed using the Server Manager. The installation of the role is pretty straightforward.
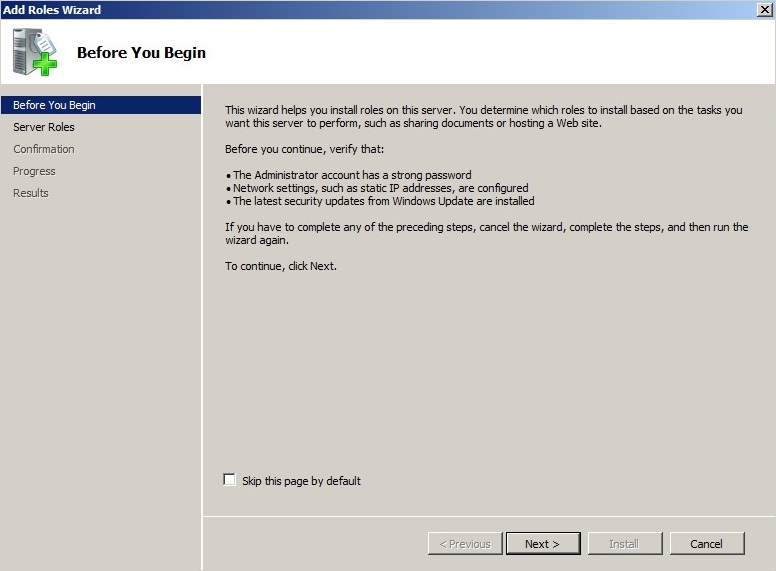
Patrick Terlisten/ vcloudnine.de/ Creative Commons CC0
Select the WDS role and proceed.
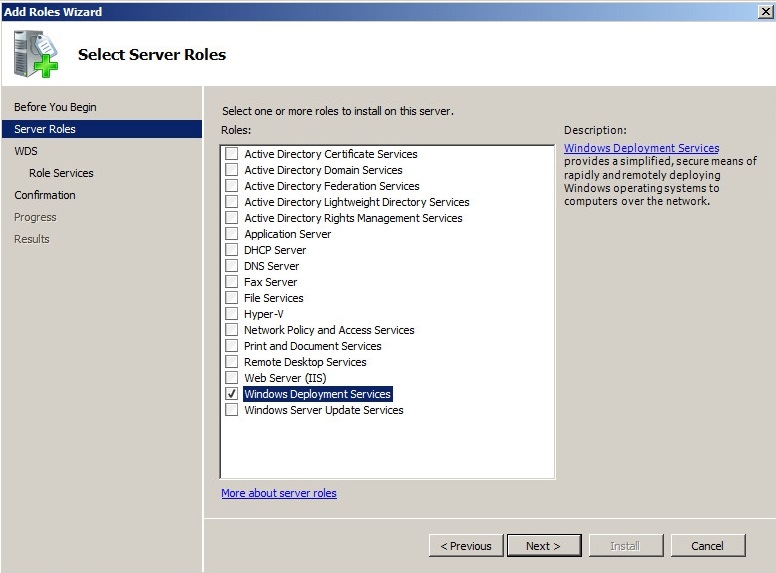
Patrick Terlisten/ vcloudnine.de/ Creative Commons CC0
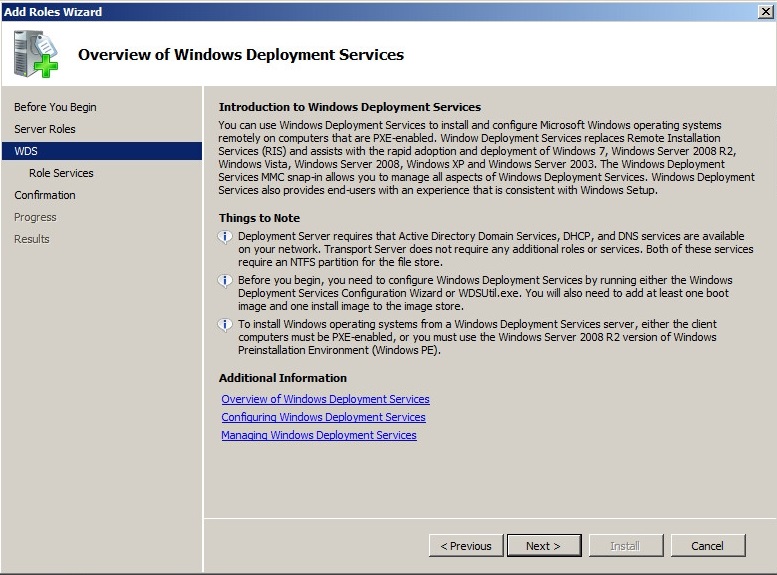
Patrick Terlisten/ vcloudnine.de/ Creative Commons CC0
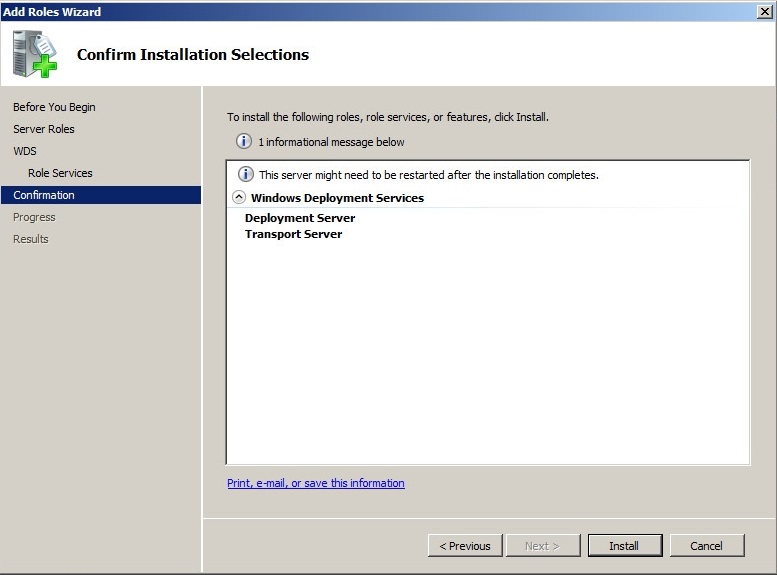
You need both components, the deployment and transport server. So be sure that both components are selected. Proceed with the setup.
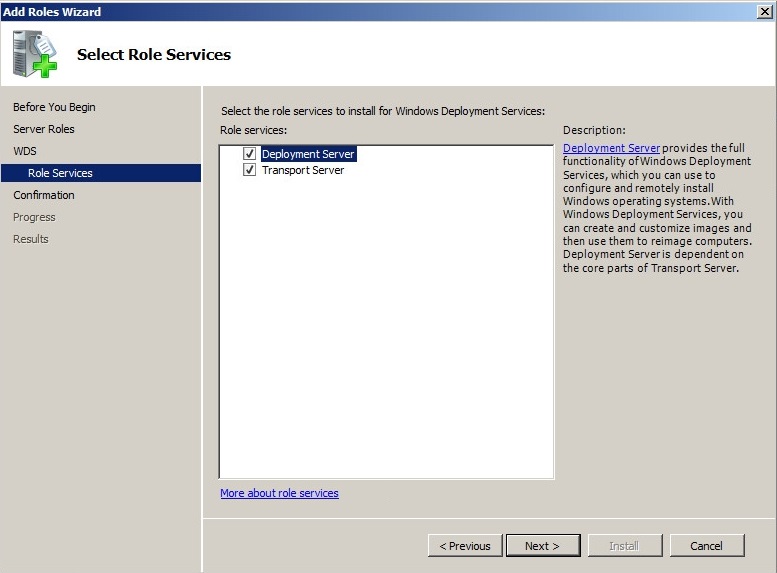
Patrick Terlisten/ vcloudnine.de/ Creative Commons CC0
Patrick Terlisten/ vcloudnine.de/ Creative Commons CC0
Patrick Terlisten/ vcloudnine.de/ Creative Commons CC0
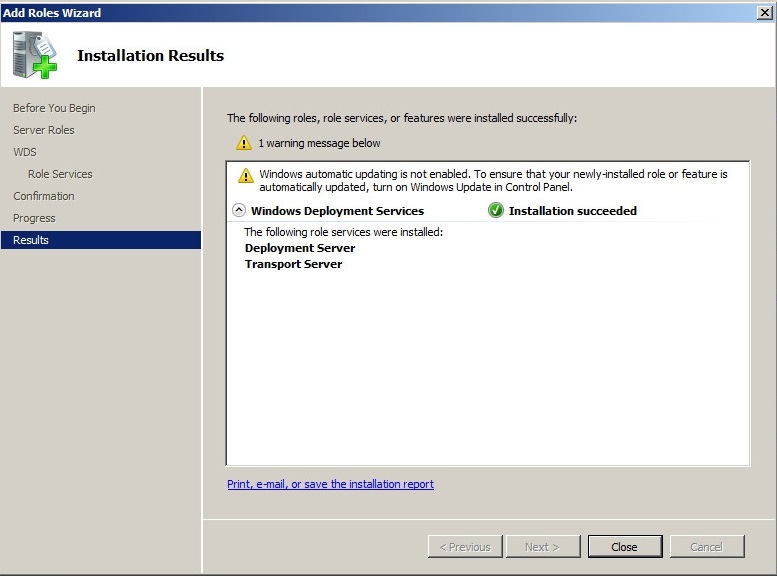
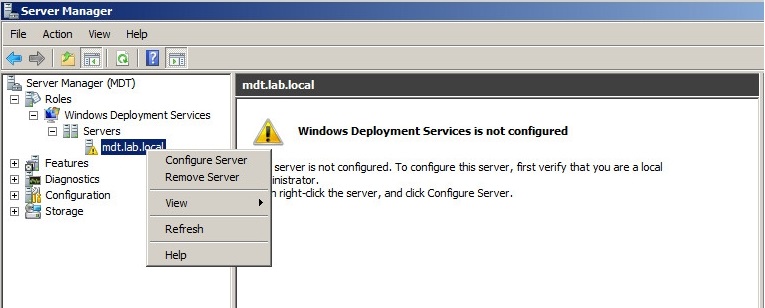
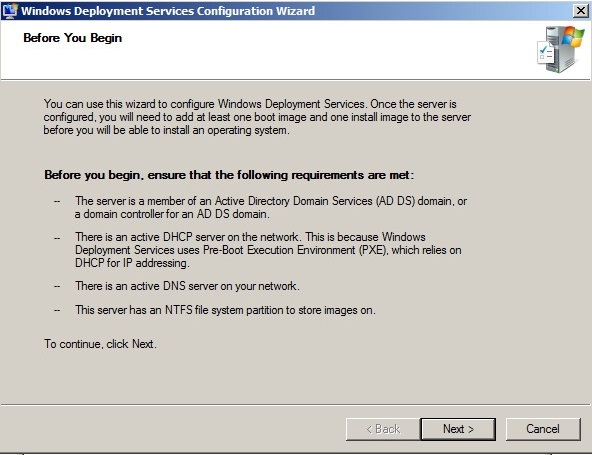
After finishing this wizard the WDS role is installed, but not configured. To configure the WDS role, you have to select the server in the left pane, right-click the server and select “Configure Server”.
Patrick Terlisten/ vcloudnine.de/ Creative Commons CC0
Patrick Terlisten/ vcloudnine.de/ Creative Commons CC0
Patrick Terlisten/ vcloudnine.de/ Creative Commons CC0
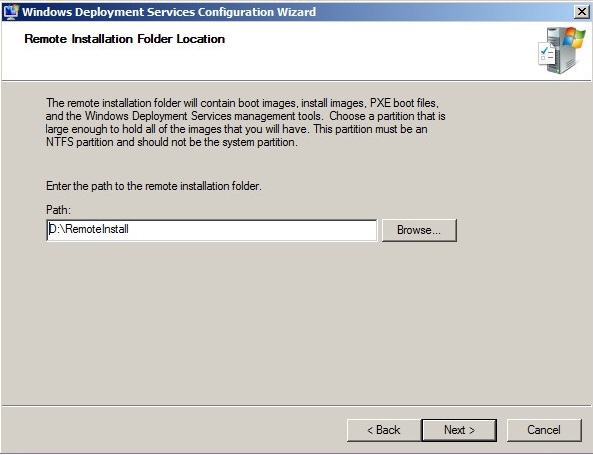
I changed the location of the remote installation folder to D:\.
Patrick Terlisten/ vcloudnine.de/ Creative Commons CC0
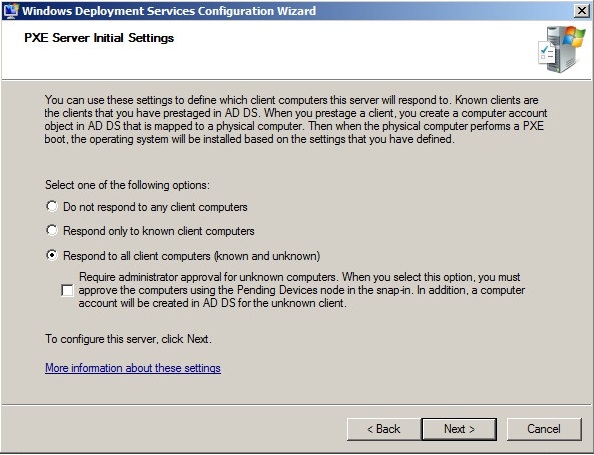
If you are a security nerd, you can select “Respond only to known client computers”. If you select this option, you have to pre-stage client computers (read the WDS documentation to learn how). For my setup I chose option 3.
Patrick Terlisten/ vcloudnine.de/ Creative Commons CC0
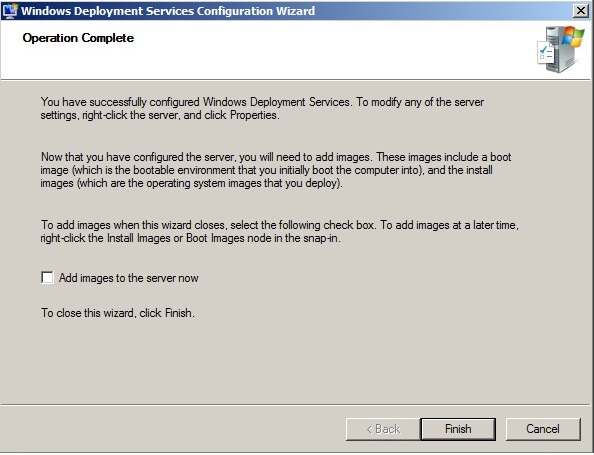
Leave this checkbox unchecked. We will add the images later.
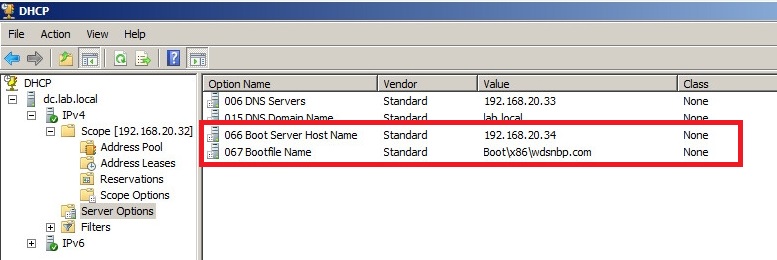
Because I have DHCP installed on the my DC, I have to manually configure the DHCP options 066 and 067. This step is only necessary if DHCP and WDS are running on different servers! DHCP Option 066 contains the IP address of the WDS server. Option 067 contains the path to a boot file, which is located in the remote installation folder of the WDS.
Patrick Terlisten/ vcloudnine.de/ Creative Commons CC0
If the DHCP is running on the same server as the WDS, you can simply use the DHCP setup options in the WDS server properties. In our case, both options may not be activated.
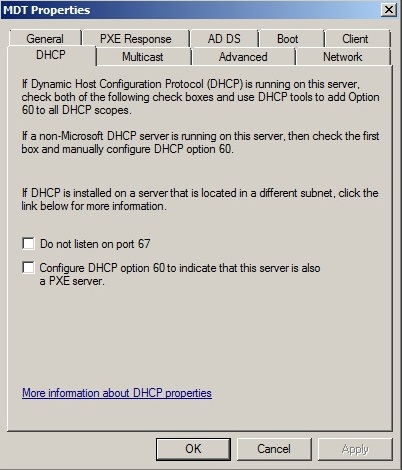
Patrick Terlisten/ vcloudnine.de/ Creative Commons CC0
If you try to start a new VM via PXE, you will get this:

Patrick Terlisten/ vcloudnine.de/ Creative Commons CC0
WDS is now functional and we can start to install MDT 2013 and ADK for Windows 8.1.
Installation of MDT 2013
You need .NET 3.5 for MDT 2013. So you should take care that you installed it before you install MDT 2013. Just install the feature .NET 3.5.1 using the Server Manager (for Windows 2008 R2). After running the MicrosoftDeploymentToolkit2013_x64.msi you will get this screen:
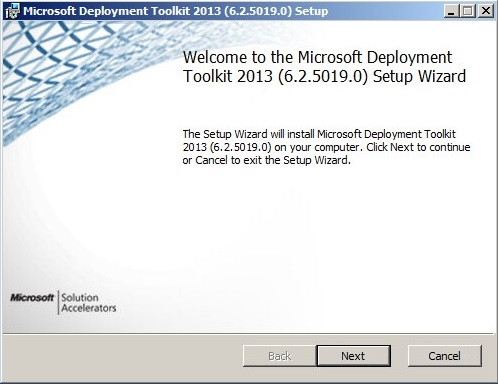
Patrick Terlisten/ vcloudnine.de/ Creative Commons CC0
Next…
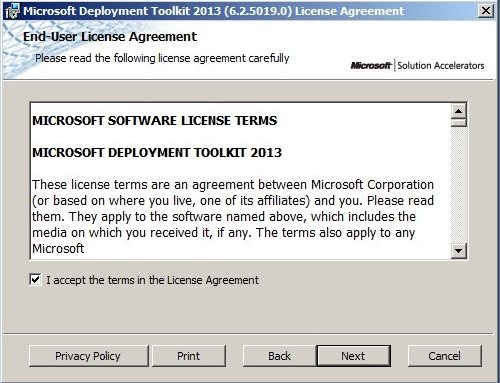
Patrick Terlisten/ vcloudnine.de/ Creative Commons CC0
Just accept he default selection and proceed with the setup.
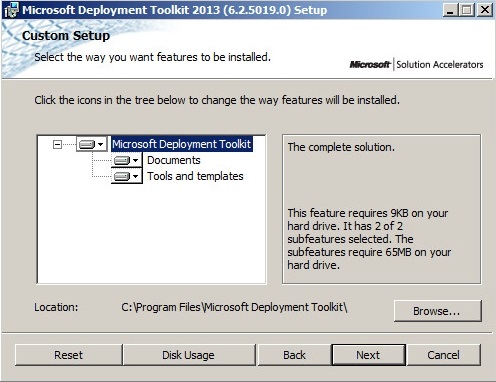
Patrick Terlisten/ vcloudnine.de/ Creative Commons CC0
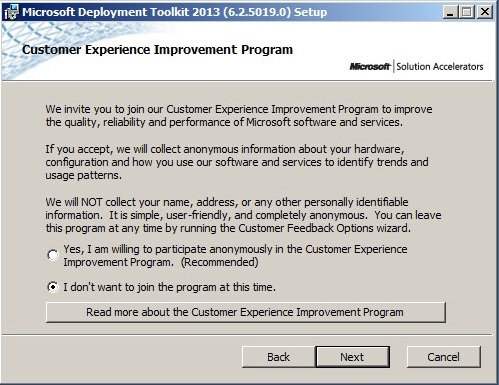
You can choose if you want to join the CEIP or not. I don’t want to join the program.
Patrick Terlisten/ vcloudnine.de/ Creative Commons CC0
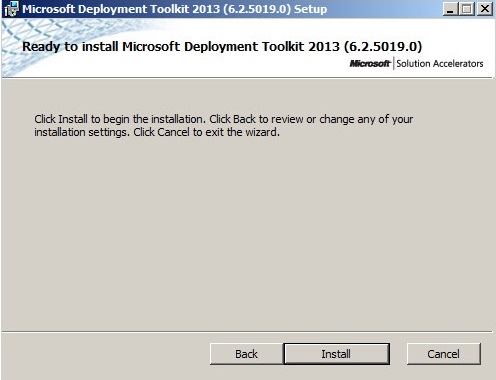
Just hit “Install”.
Patrick Terlisten/ vcloudnine.de/ Creative Commons CC0
Finished! This was a difficult task. ;)
Installation of Windows Assessment and Deployment Kit (ADK) for Windows 8.1
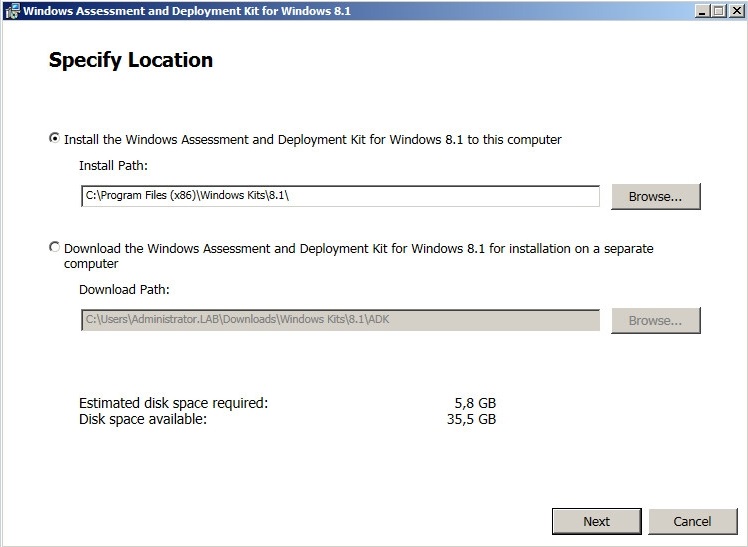
The ADK for Windows 8.1 is required by MDT 2013. The download of the ADK is quite small, round about 2 MB. But during the setup, 3 GB will be downloaded. You should ensure therefore that you have a fast and reliable internet connection. After running the adksetup.exe you will get this screen:
Patrick Terlisten/ vcloudnine.de/ Creative Commons CC0
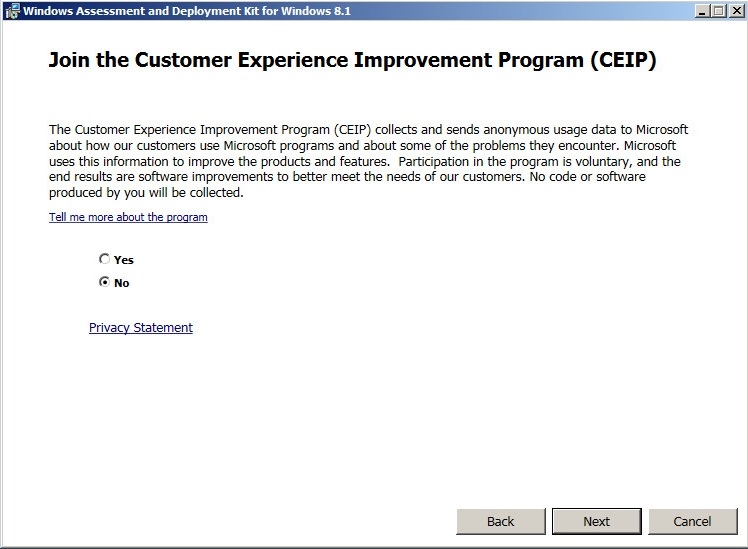
No, I don’t want to join the CEIP.
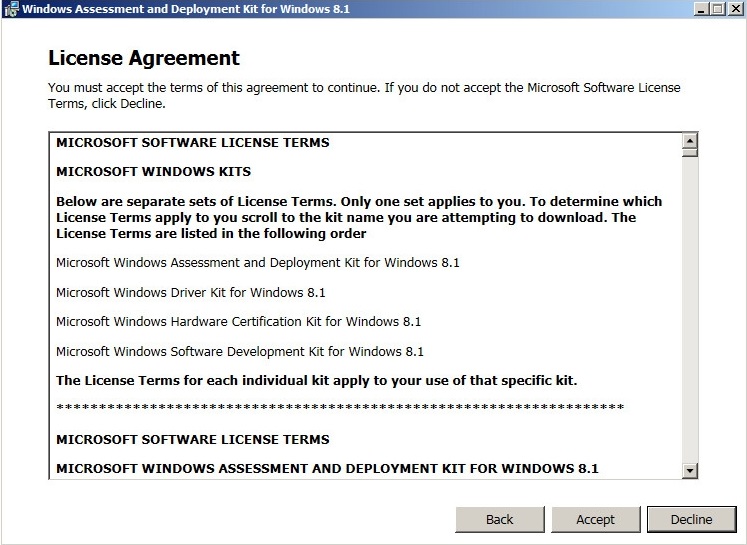
Patrick Terlisten/ vcloudnine.de/ Creative Commons CC0
Patrick Terlisten/ vcloudnine.de/ Creative Commons CC0
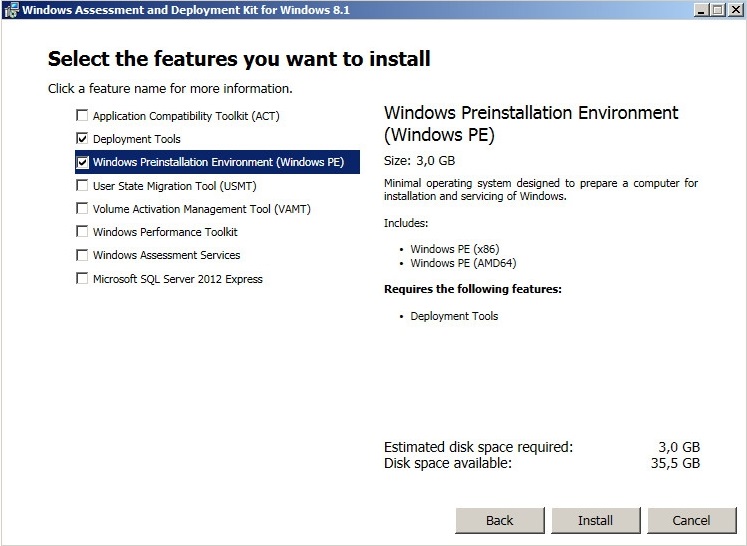
All we need are the deployment tools and the Windows PE.
Patrick Terlisten/ vcloudnine.de/ Creative Commons CC0
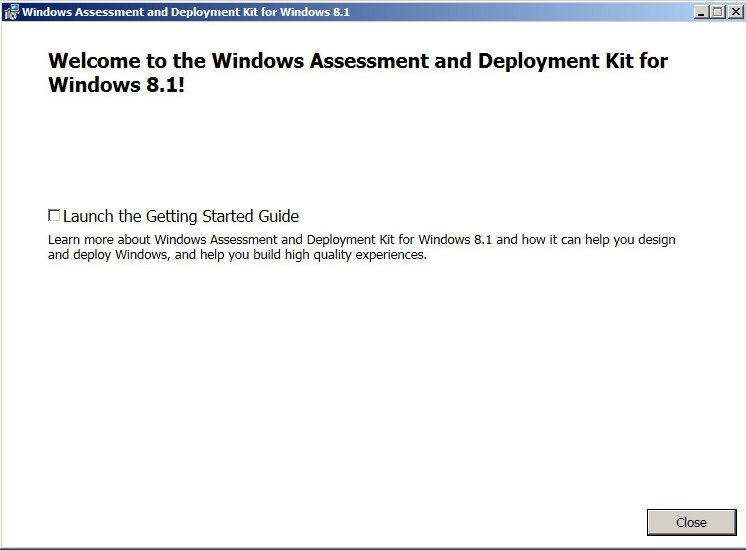
After a few minutes you will come to this screen.
Patrick Terlisten/ vcloudnine.de/ Creative Commons CC0
The basic installation of MDT 2013 is now complete. The configuration of MDT 2013 will be discussed in part II.
