How to deploy Cisco CSR1000V & HP VSR1000 Virtual Service Router
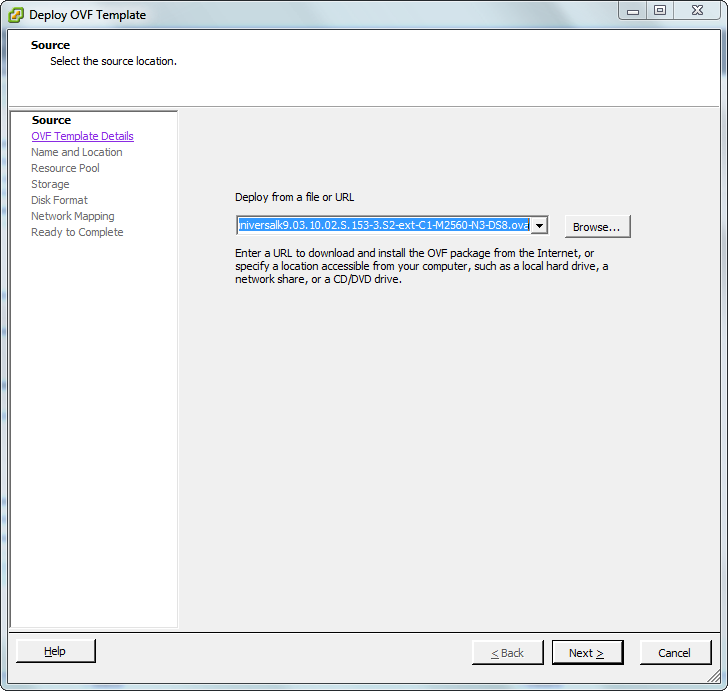
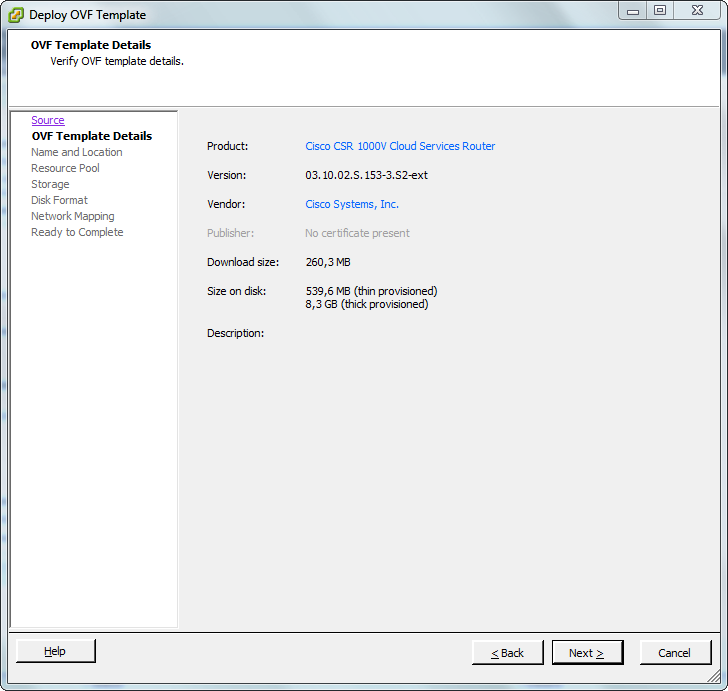
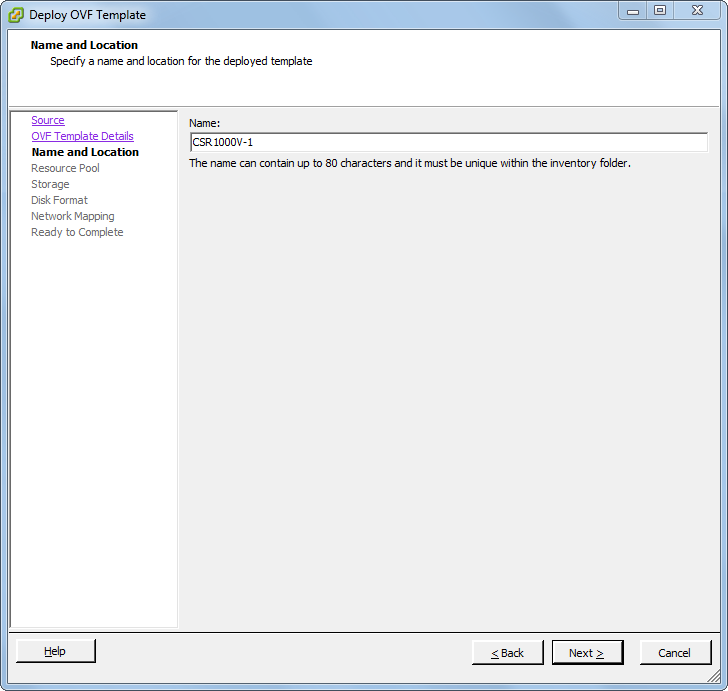
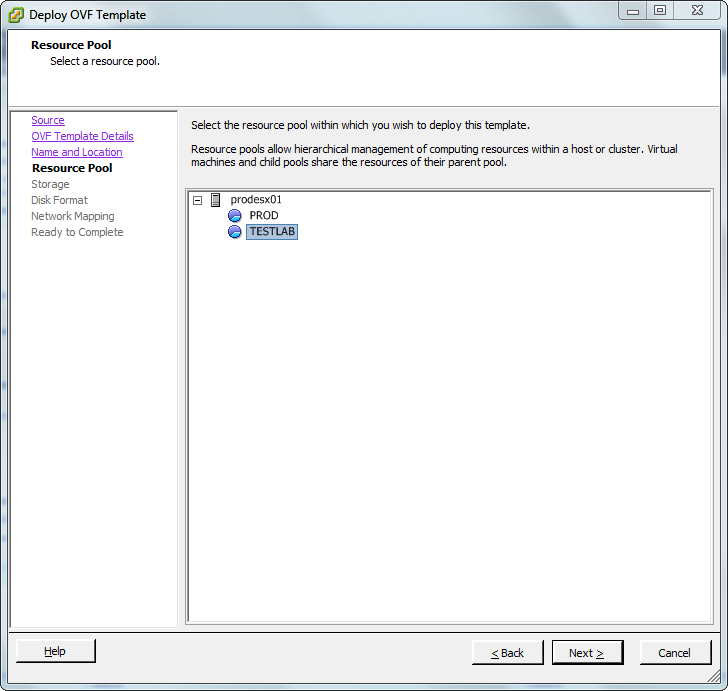
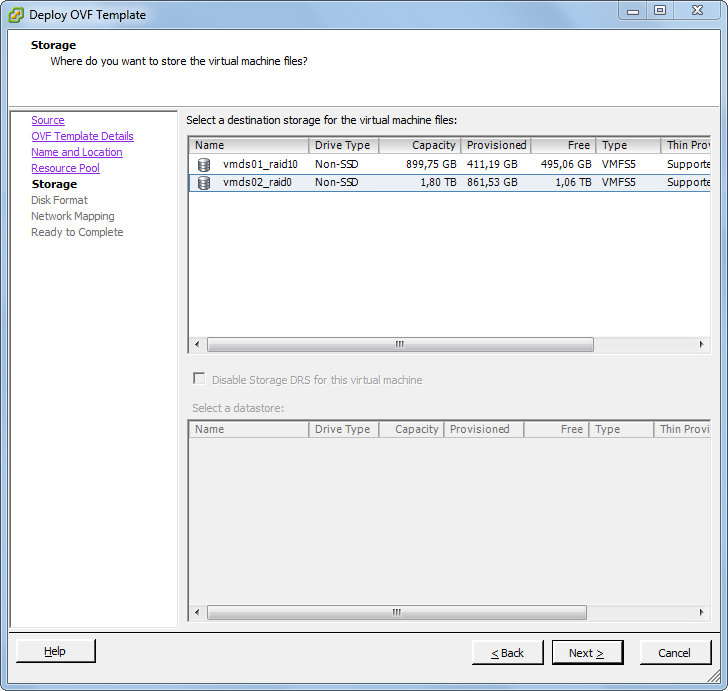
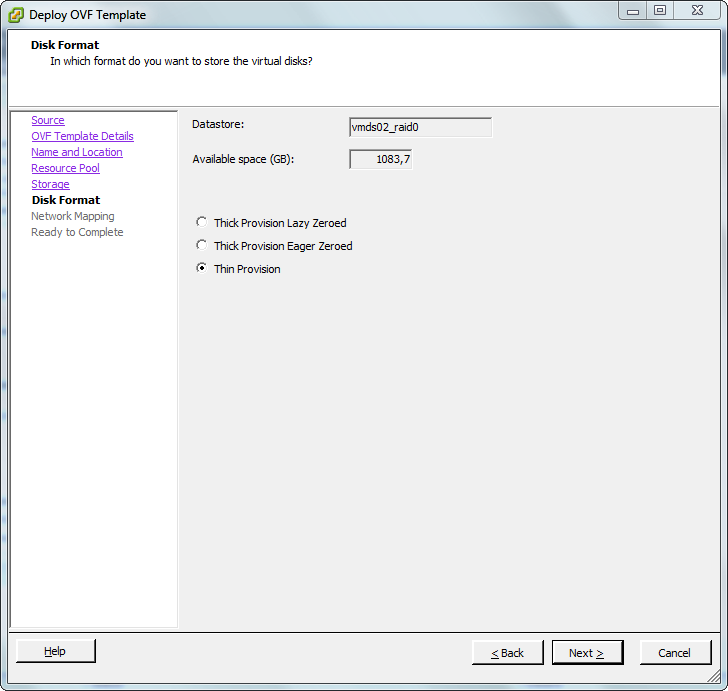
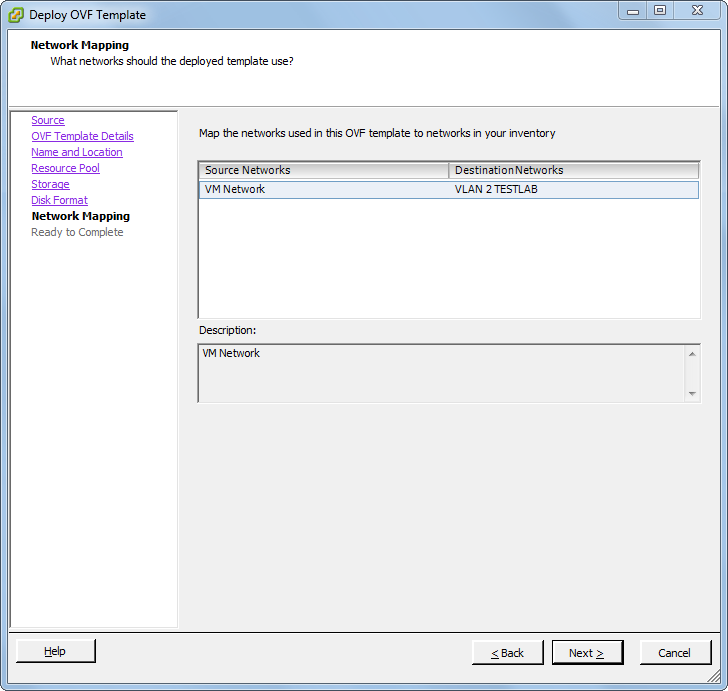
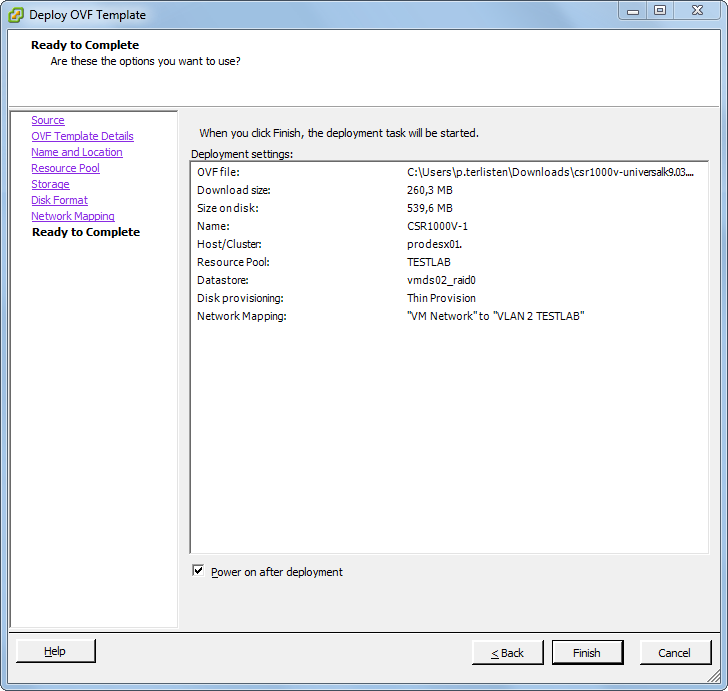
In an earlier blog post I wrote a bit about virtual service routers. Now I want to show you how easily you can deploy a virtual service router in your lab. To do so I have downloaded the the HP VSR1000 Virtual Service Router and the Cisco Cloud Service Router 1000V. If you want to know how to download them, just read the mentioned blog post. Because both virtual service routers delivered as OVA, I can easily deploy them through the vSphere Client (sorry, no Web Client. It’s a standalone HP Micro Server without a vCenter). I will show an example on how to deploy the Cisco CSR1000V. That procedure is exactly the same for the HP VSR1000. The procedure is pretty straightforward. The screenshots are self-explanatory.
Patrick Terlisten/ vcloudnine.de/ Creative Commons CC0
Patrick Terlisten/ vcloudnine.de/ Creative Commons CC0

Patrick Terlisten/ vcloudnine.de/ Creative Commons CC0
Patrick Terlisten/ vcloudnine.de/ Creative Commons CC0
Patrick Terlisten/ vcloudnine.de/ Creative Commons CC0
Patrick Terlisten/ vcloudnine.de/ Creative Commons CC0
Patrick Terlisten/ vcloudnine.de/ Creative Commons CC0
Patrick Terlisten/ vcloudnine.de/ Creative Commons CC0
Patrick Terlisten/ vcloudnine.de/ Creative Commons CC0
Just finish the wizard and power-on your new Cisco Cloud Service Router! I did the same for the HP VSR1000 and after finishing the second deployment, I have two fancy new virtual routers in my lab. I deployed a Cisco CSR1000V and a HP VSR1000 to shvcloudnine.deow you, that you can have a lot of fun with two different routers. You can play with both, let them talk dirty over OSPF - do whatever you want. But before you can do that, you have to do some initial configuration stuff…
Initial configuration HP VSR1000 Virtual Service Router
Start a vSphere Client console session to the VSR1000. Press Crtl+D to abort the automatic configuration and press Enter.
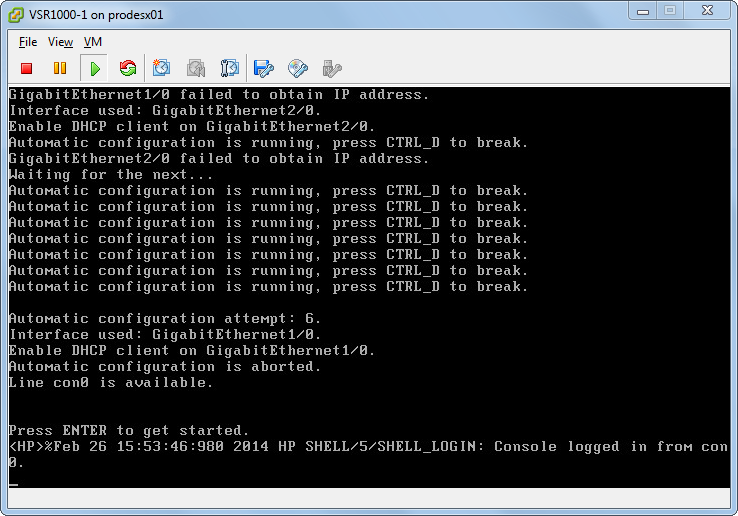
Patrick Terlisten/ vcloudnine.de/ Creative Commons CC0
Instead of screeshots I provide the commands and the output of the console session:
<HP>system-view
System View: return to User View with Ctrl+Z.
[HP]sysname VSR1000
[VSR1000]interface GigabitEthernet1/0
[VSR1000-GigabitEthernet1/0]ip address 192.168.20.51 27
[VSR1000-GigabitEthernet1/0]quit
[VSR1000]ip route-static 0.0.0.0 0.0.0.0 192.168.20.62
[VSR1000]public-key local create rsa
The range of public key modulus is (512 ~ 2048).
If the key modulus is greater than 512, it will take a few minutes.
Press CTRL+C to abort.
Input the modulus length [default = 1024]:
Generating Keys...
..++++++
...................++++++
.....++++++++
.....++++++++
Create the key pair successfully.
[VSR1000]ssh server enable
[VSR1000]user-interface vty 0 4
[VSR1000-ui-vty0-4]authentication-mode scheme
[VSR1000-ui-vty0-4]protocol inbound ssh
[VSR1000-ui-vty0-4]quit
[VSR1000]local-user patrick
New local user added.
[VSR1000-luser-manage-patrick]password simple Passw0rd
[VSR1000-luser-manage-patrick]service-type ssh
[VSR1000-luser-manage-patrick]authorization-attribute user-role network-admin
[VSR1000-luser-manage-patrick]quit
[VSR1000]save
The current configuration will be written to the device. Are you sure? [Y/N]:y
Please input the file name(*.cfg)[flash:/startup.cfg]
(To leave the existing filename unchanged, press the enter key):
Validating file. Please wait...
Configuration is saved to device successfully.
[VSR1000]
After that you can login using your favorite SSH client.
login as: patrick
patrick@192.168.20.51's password:

******************************************************************************
* Copyright (c) 2010-2013 Hewlett-Packard Development Company, L.P.          *
* Without the owner's prior written consent,                                 *
* no decompiling or reverse-engineering shall be allowed.                    *
******************************************************************************

<VSR1000>
Now you can do all the cool stuff with your shiny new HP VSR1000 Virtual Service Router.
Initial configuration Cisco CSR1000V Virtual Service Router
Now we’re doing the same for the Cisco CSR1000V. Just answer “no” to abort the initial configuration dialog.
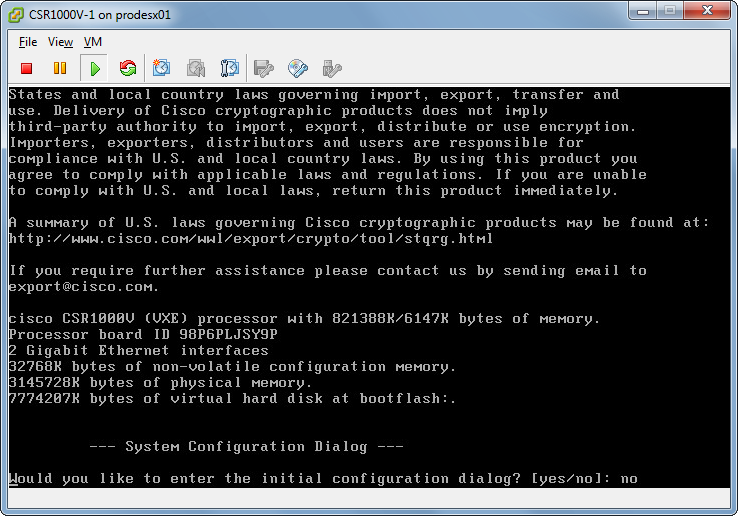
Patrick Terlisten/ vcloudnine.de/ Creative Commons CC0
As in the previous configuration, here’s only the output.
Router>enable
Router#conf t
Enter configuration commands, one per line.   End with CNTL/Z.
Router(config)#hostname CSR1000V
CSR1000V(config)#service password-encryption
CSR1000V(config)#line vty 0 4
CSR1000V(config-line)#transport input ssh
CSR1000V(config-line)#login local
CSR1000V(config-line)#exit
CSR1000V(config)#enable password 0 Passw0rd
CSR1000V(config)#username patrick privilege 15 password 0 Passw0rd
CSR1000V(config)#ip domain-name lab.local
CSR1000V(config)#crypto key generate rsa
The name for the keys will be: CSR1000V.lab.local
Choose the size of the key modulus in the range of 360 to 4096 for your
  General Purpose Keys. Choosing a key modulus greater than 512 may take
  a few minutes.

How many bits in the modulus [512]: 1024
% Generating 1024 bit RSA keys, keys will be non-exportable...
[OK] (elapsed time was 0 seconds)
CSR1000V(config)#int gi1
CSR1000V(config-if)#ip address 192.168.20.50 255.255.255.224
CSR1000V(config-if)#no shutdown
CSR1000V(config-if)#exit
CSR1000V(config)#ip route 0.0.0.0 0.0.0.0 192.168.20.62
CSR1000V(config)#do wri mem
Building configuration...
[OK]
CSR1000V(config)
Now you can login using SSH.
login as: patrick
Using keyboard-interactive authentication.
Password:

CSR1000V#
Give me a ping, Vasily. One ping only, please.
Because all interfaces from both virtual routers are connected to the same port group and each router has an ip address in my lab network, I can ping between the routers. This is a ping from CSR1000V to the VSR1000.
CSR1000V#ping 192.168.20.51
Type escape sequence to abort.
Sending 5, 100-byte ICMP Echos to 192.168.20.51, timeout is 2 seconds:
!!!!!
Success rate is 100 percent (5/5), round-trip min/avg/max = 2/2/5 ms
CSR1000V#
This is the ping in the other direction.
<VSR1000>ping 192.168.20.50
Ping 192.168.20.50 (192.168.20.50): 56 data bytes, press CTRL_C to break
56 bytes from 192.168.20.50: icmp_seq=0 ttl=255 time=5.016 ms
56 bytes from 192.168.20.50: icmp_seq=1 ttl=255 time=2.509 ms
56 bytes from 192.168.20.50: icmp_seq=2 ttl=255 time=0.724 ms
56 bytes from 192.168.20.50: icmp_seq=3 ttl=255 time=0.950 ms
56 bytes from 192.168.20.50: icmp_seq=4 ttl=255 time=0.852 ms

--- Ping statistics for 192.168.20.50 ---
5 packets transmitted, 5 packets received, 0.0% packet loss
round-trip min/avg/max/std-dev = 0.724/2.010/5.016/1.637 ms
<VSR1000>
Now play in your lab. Imagination has no boundaries. :)
