
How to migrate from VMware vCOps to vROps - Part 2
Part 1 of this series has covered a short overview over vRealize Operations Manager 6.0 and the initial deployment of the virtual appliance. Now it’s time to bring it to life.
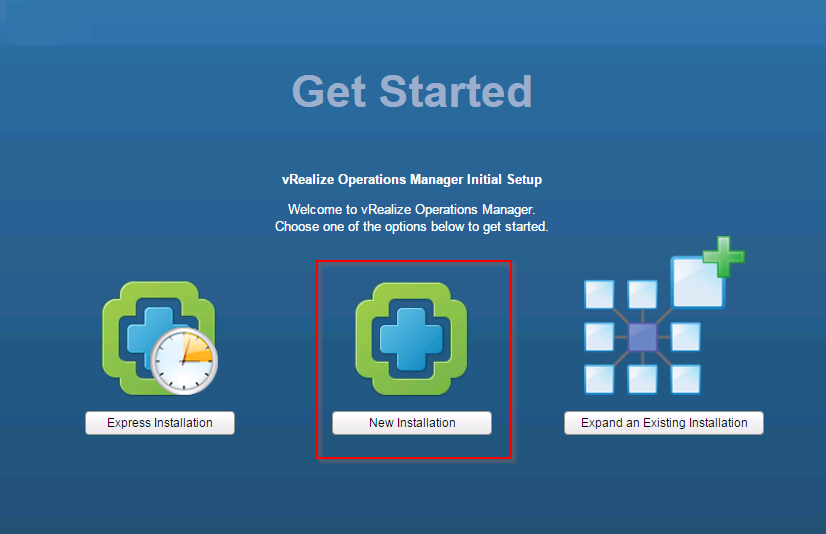
Open a browser and enter the IP of your newly deployed vROps appliance. You will get this nice initial setup screen. “New Installation” is always a good start. Click “New Installation”.
Patrick Terlisten/ vcloudnine.de/ Creative Commons CC0
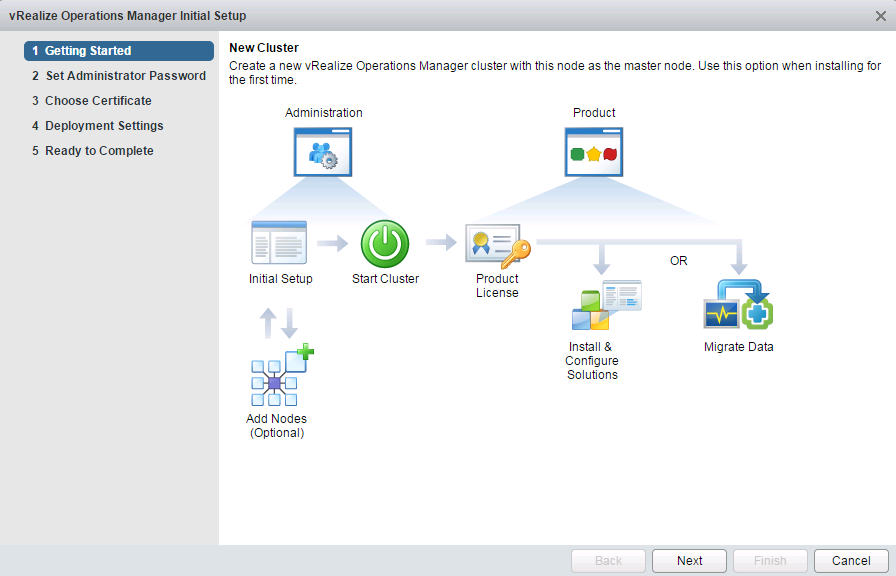
Within five little steps, the configuration of vROps will be done. You may have noticed the “Migrate Data” icon on the right of the screenshot. This will be important later. Start with clicking “Next”.
Patrick Terlisten/ vcloudnine.de/ Creative Commons CC0
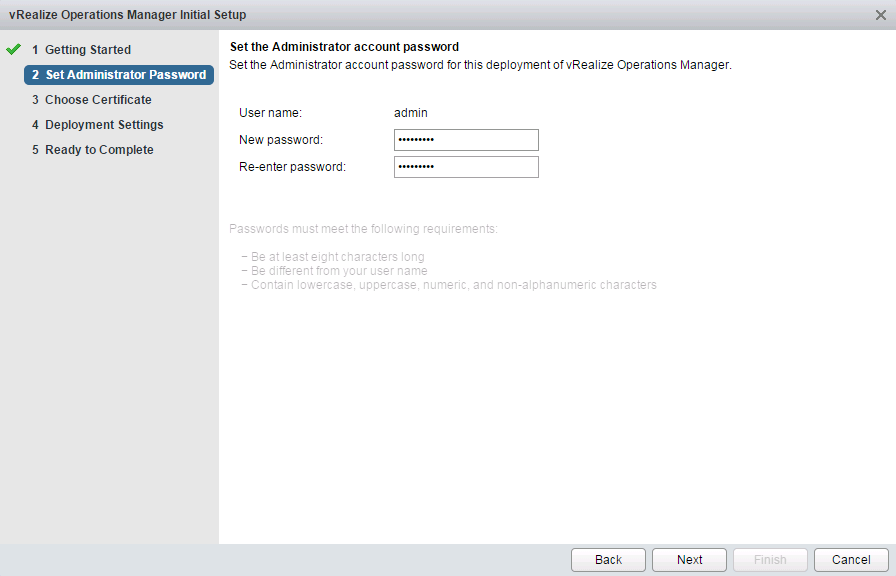
Enter the password for the build-in administrator account and click “Next”.
Patrick Terlisten/ vcloudnine.de/ Creative Commons CC0
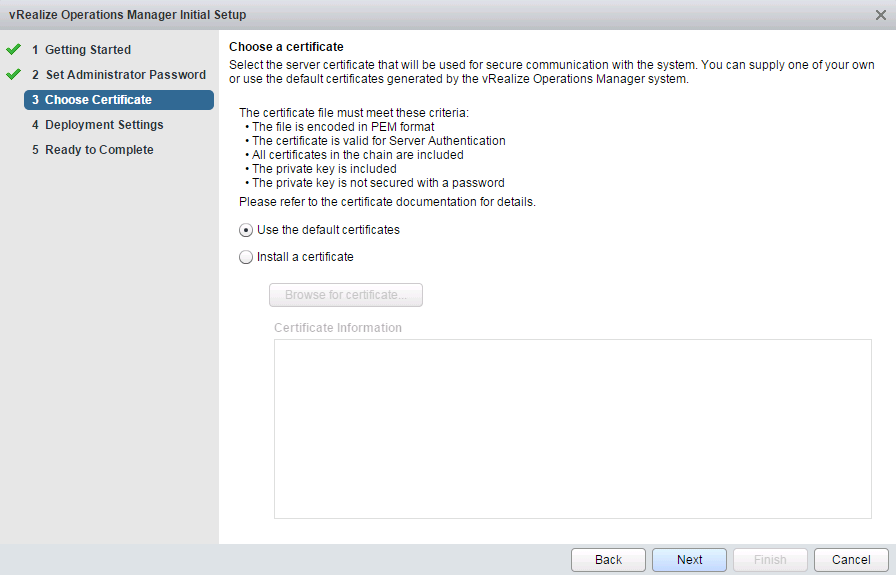
I really liked part: Choose Certificate. No command line, no complex knowledge base articles. Simply choose “Install a certificate” and point the installer to a valid certificate. You can replace the certificate later. Because of this, I’ve chosen “Use the default certificate” at this point.
Patrick Terlisten/ vcloudnine.de/ Creative Commons CC0
Enter the name of the master node and a valid NTP server. In my case, the NTP server is my Active Directory Domain Controller.
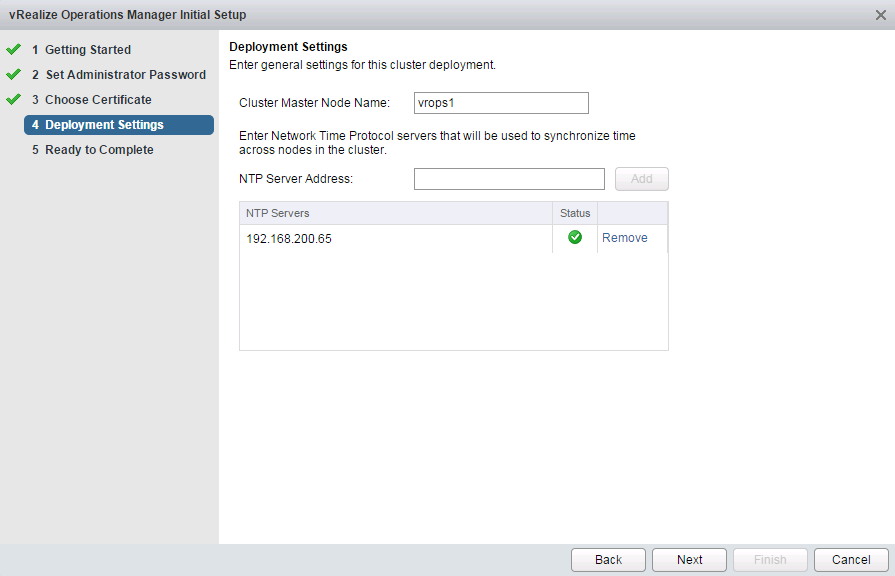
Patrick Terlisten/ vcloudnine.de/ Creative Commons CC0
Complete the initial setup by clicking “Finish”.
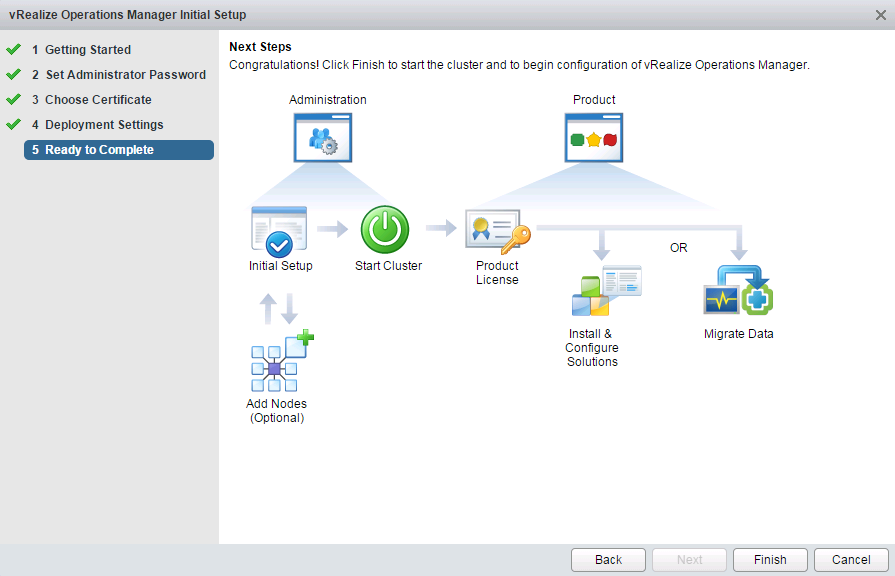
Patrick Terlisten/ vcloudnine.de/ Creative Commons CC0
Now the vROps services must be started. Click “Start vRealize Operations Manager”. The pop up can be answered with “Yes”.

Patrick Terlisten/ vcloudnine.de/ Creative Commons CC0
Log in with “admin” and the password you’ve chosen at the beginning of the initial setup.
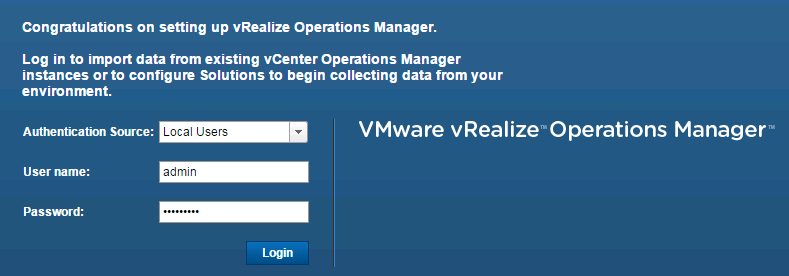
Patrick Terlisten/ vcloudnine.de/ Creative Commons CC0
Because I already had a vCOps running in my lab, I’ve chosen “Import Environment”. This selection allows you to import the data from your current vCOps vApp. Click “Next”.
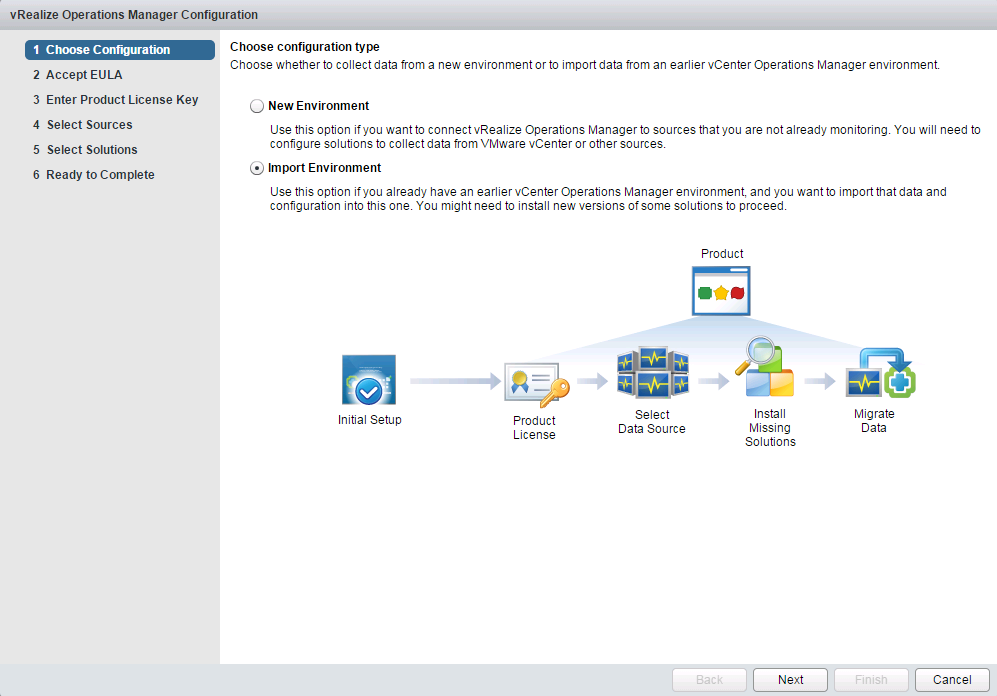
Patrick Terlisten/ vcloudnine.de/ Creative Commons CC0
Carefully read the EULA, enable the checkbox and click “Next”.
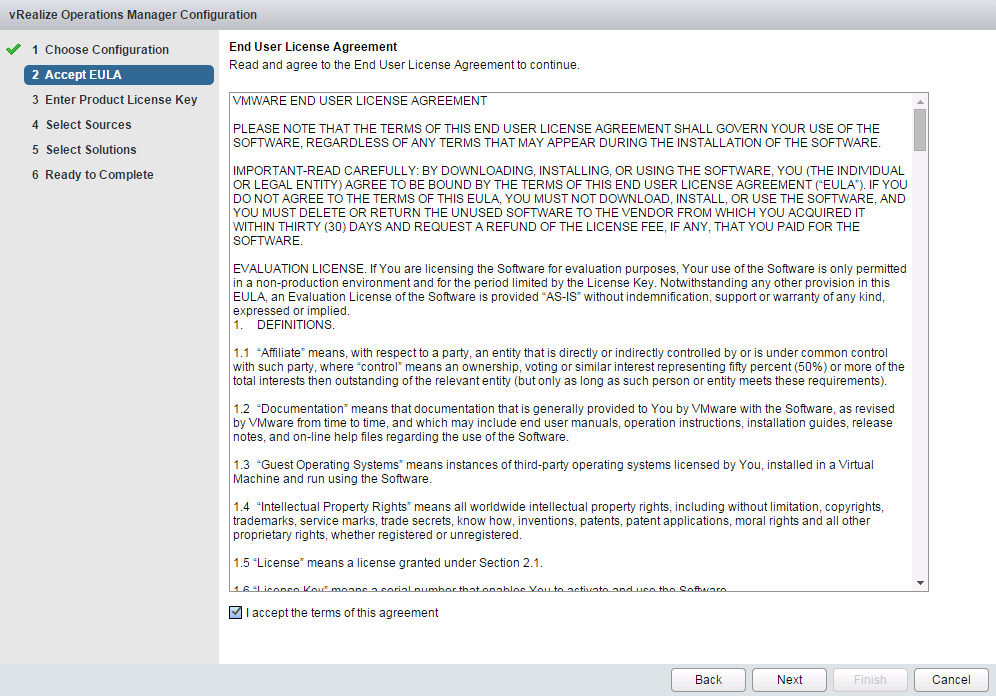
Patrick Terlisten/ vcloudnine.de/ Creative Commons CC0
Now you have to add a license key. I used my vExpert vCloud Suite key.

Patrick Terlisten/ vcloudnine.de/ Creative Commons CC0
Enter the IP address or the FQDN of your current vCOps UI VM. A pop-up appears that informs you, that an agent is pushed to the VM. This step takes about 5 minutes to finish. Click “Next”.
Patrick Terlisten/ vcloudnine.de/ Creative Commons CC0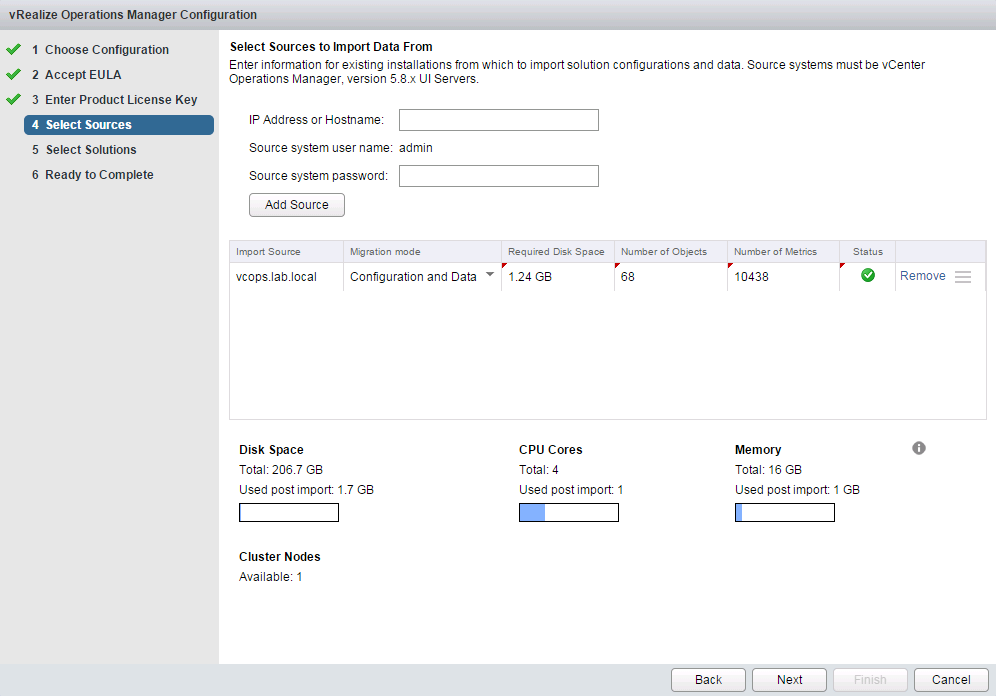
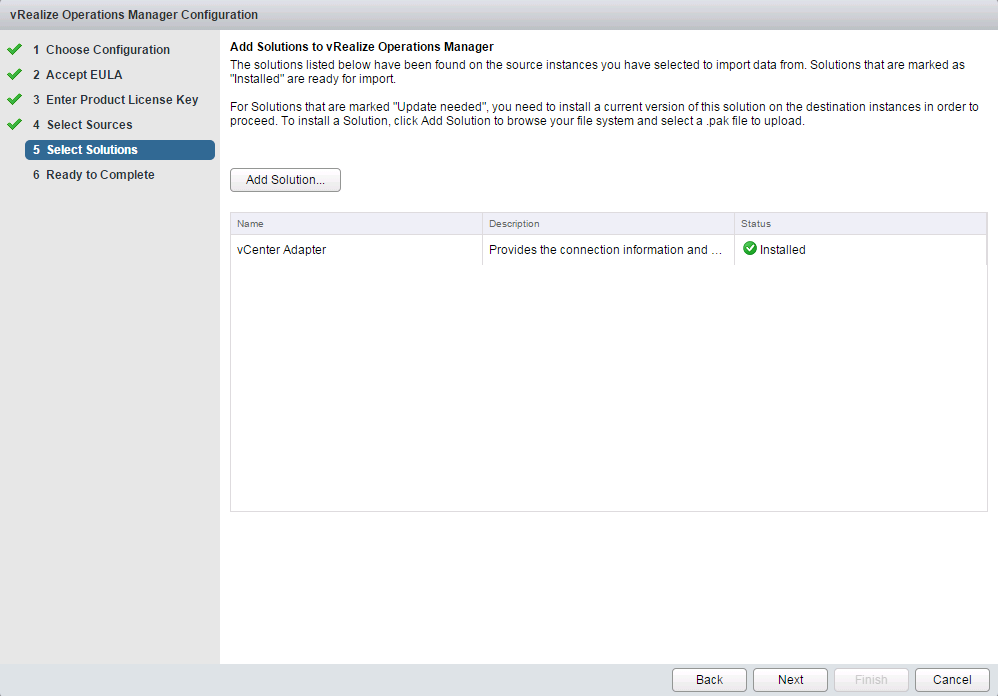
Patrick Terlisten/ vcloudnine.de/ Creative Commons CC0
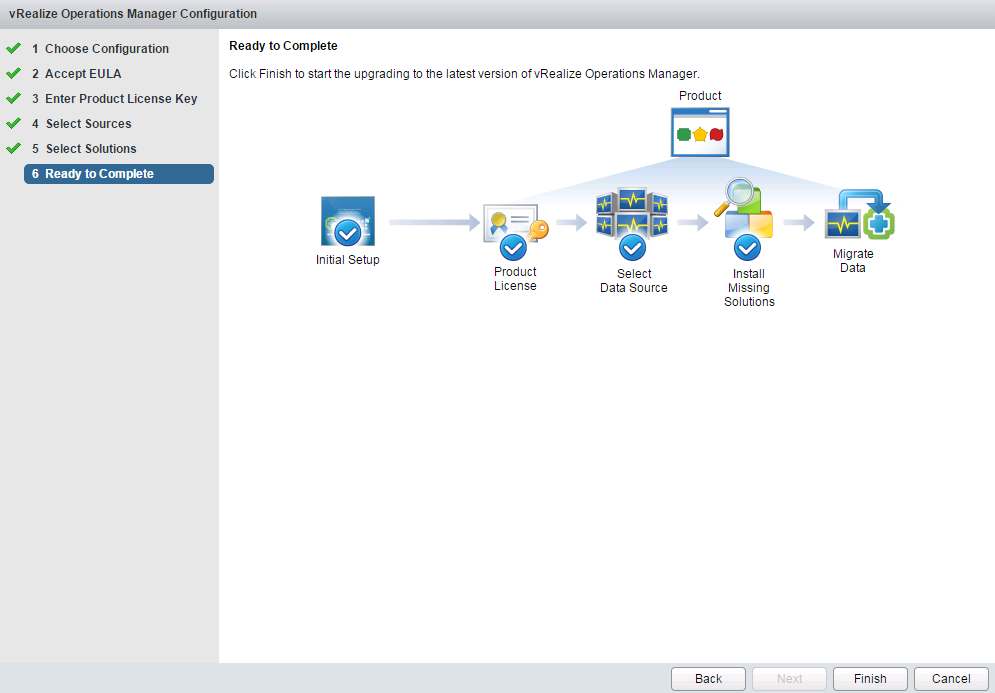
Everything’s fine. Simply click “Finish” and relax.
Patrick Terlisten/ vcloudnine.de/ Creative Commons CC0
Now the data is imported. Depending on your resources and the amount of data, this step can take some time. In my case this step took about 10 minutes to finish.
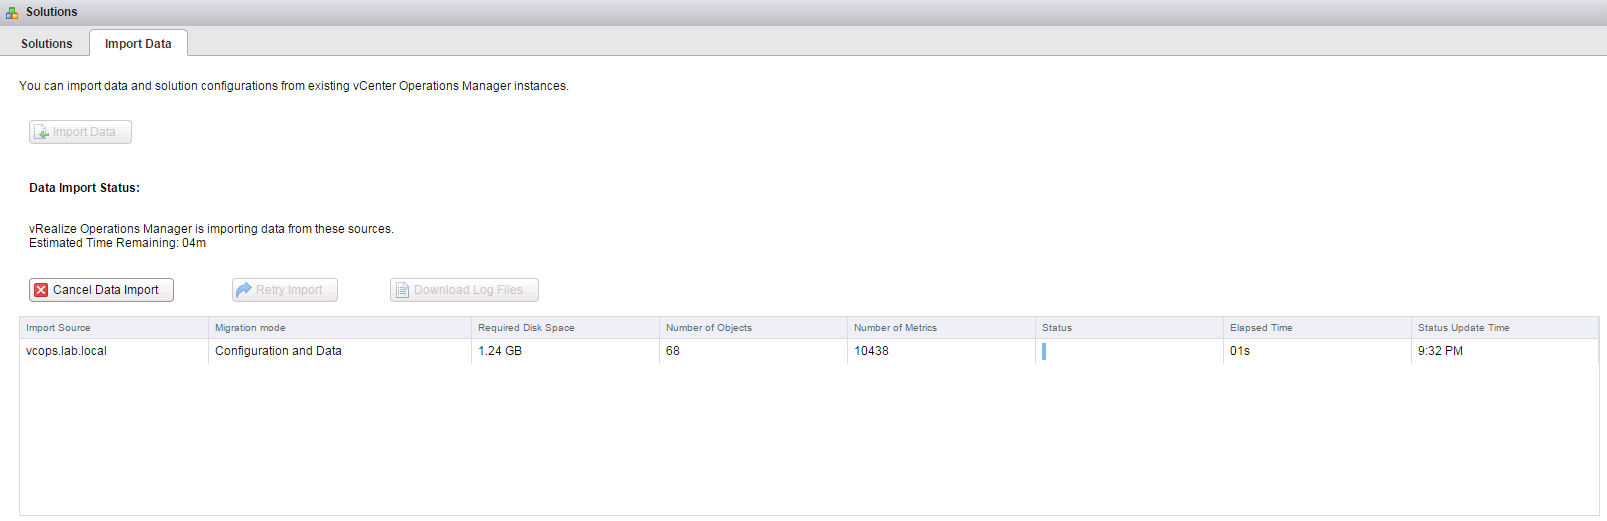
Patrick Terlisten/ vcloudnine.de/ Creative Commons CC0
Congratulations! That’s it. Easy, isn’t it? Now you can add additional nodes, e.g. a replica node or additional data nodes.
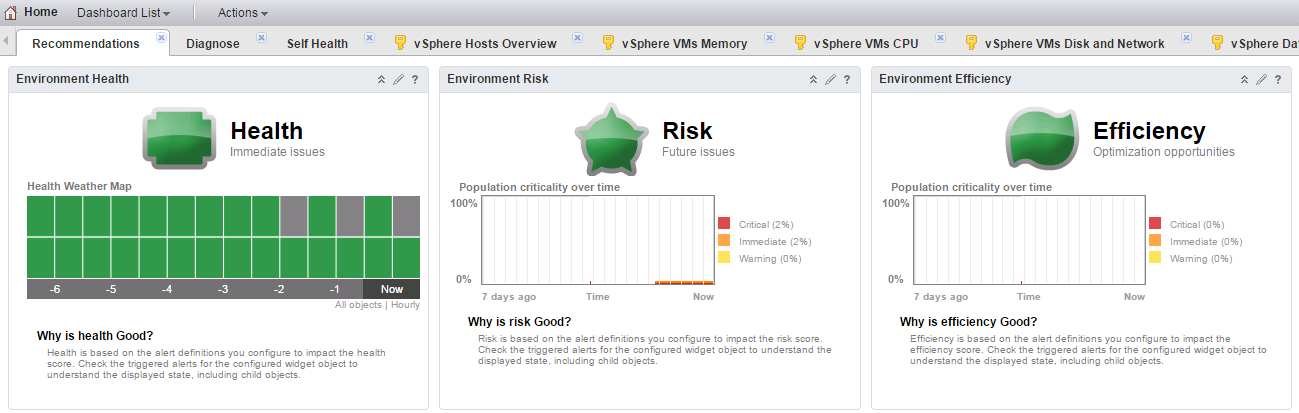
Patrick Terlisten/ vcloudnine.de/ Creative Commons CC0
The migration process is really easy and straightforward. The database is the most valuable. Because of this, I strongly recommend to migrate the data from your current vCOps environment.
But what to do with the old vCOps vApp? It’s still active and consumes resources from your vSphere cluster. I covered this in part 3 of this series.